


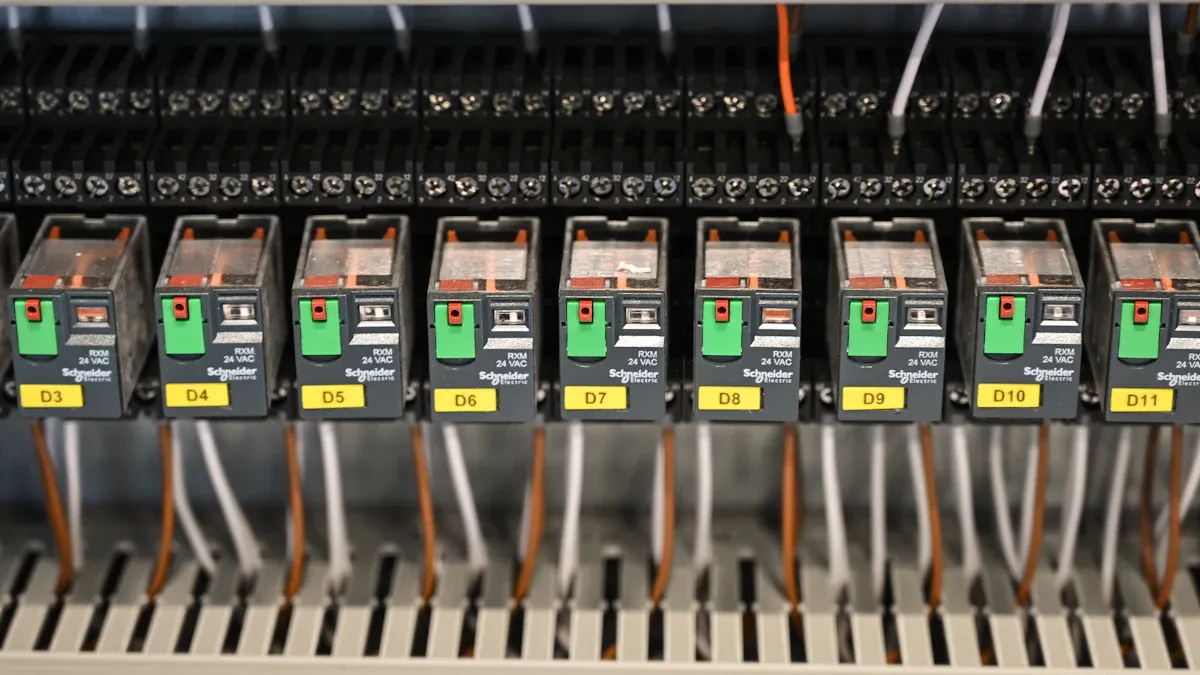
You calibrate protective relays by doing some easy steps. First, you set the relay settings, like pickup current and timing. Next, you change the relay, whether it has mechanical or digital parts. Then, you put in test signals and write down what happens. You need the right tools, follow the maker’s instructions, and think about safety. Careful calibration helps your system work well and stay safe.
Key Takeaways
- Calibrating protective relays helps your electrical system work well and stay safe. Checking them often helps you find problems fast and stops things from breaking.
- Follow what the manufacturer says about when to calibrate. This helps you follow safety rules and lowers the chance of accidents.
- Use the correct tools for calibration, like relay testers and software. Good tools help you measure right and make sure everything works well.
- Look at relays before you calibrate them. Check for damage, look at connections, and test settings so you do not have problems later.
- Write down all calibration results. Keeping notes helps you watch how things work and find problems early.
Why Accurate Calibration Matters
System Reliability
Calibrating protective relays helps your electrical system work well. Relays act like guards for your equipment. If you set them right, they find problems fast and keep things safe. This stops damage and keeps the lights on. Here are ways calibration helps reliability:
- Relays find faults quickly and shut off the problem spot. This stops harm to wires and machines.
- Regular checks make sure relays work as they should. You keep your power system steady and avoid trouble.
- If relays fail, big problems can happen. Equipment might break, and power outages can occur.
Calibrating relays on a schedule makes your system stronger. You protect your equipment and keep things running.
Tip: Always write down your calibration results. This helps you see changes and find problems early.
Safety and Compliance
Safety rules help protect people and equipment. You must follow these rules and check your relays often. Regulatory groups say how often you should calibrate protective relays. The table below shows how often to check relays for each safety level:
| SIL Level | Calibration Interval |
| SIL 1 | Every 2–3 years |
| SIL 2 | Every 1–2 years |
| SIL 3 | Every 6–12 months |
If you follow these times, you meet safety standards and avoid fines. You also lower the chance of accidents. Keeping relays accurate protects workers and equipment.
Note: Always look at the manufacturer’s guidelines for your relay model. Some relays may need to be calibrated more often.
Prepare to Calibrate Protective Relays
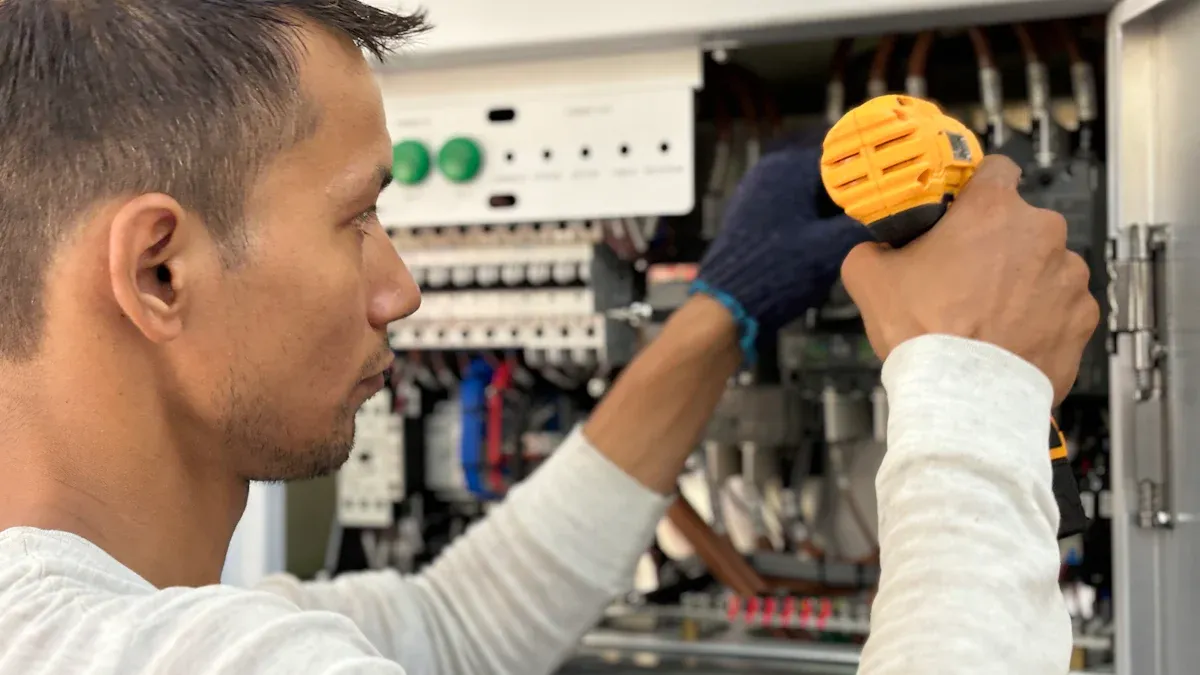
Tools and Documentation
You need special tools to calibrate protective relays. Experts say you should use certain devices to test and measure how relays work. Get all your tools ready before you begin:
- Relay Protection Testers
- KT210 CT/PT Analyzer
- KS833 Three-phase Power Source Calibrator
- KS1212 Standard Source of Distribution Terminal Automatic Testing Platform
- KS823 Standard Source Meter Calibration
- KS813 Three-phase AC and DC Calibrator
- KS803 Harmonic Standard Power Calibration
- KA30 / KA60 Voltage and Current Amplifier
- PMC72S and PMC96S Three-phase Multifunctional Power Meters
- Protection Relay Test Software
You also need relay manuals and wiring diagrams. These papers show you what to do and help you do things the right way.
Tip: Always use the newest test software. Check for updates from the maker.
Relay Inspection
Check each relay closely before you start calibration. Do these steps:
- Measure insulation resistance to earth and between circuits.
- Use the relay’s self-test if it is digital or numerical.
- Compare the wiring diagram to the real connections.
- Look at all equipment, labels, and connections.
- Test main current and voltage transformers.
- Make sure alarm and trip settings are correct.
- Check tripping and alarm circuits to see if they work.
Watch out for common problems when you inspect. The table below shows what you might find:
| Common Issues Identified During Inspections | Description |
| Visible Signs of Damage | Cracks, burn marks, or melted plastic parts. |
| Burnt or Corroded Contacts | Damage from arcing or environmental factors. |
| Inadequate Testing Procedures | Missing or poor testing can cause relay failures. |
Burnt contacts can happen from heavy loads or wetness. Dust and water in the air can also cause trouble.
Note: Not testing enough can make relays fail and hurt system safety.
Reviewing Specifications
Read the manufacturer’s instructions before you calibrate. Makers give clear steps for each relay type. These steps help you set the right limits and make sure things work well. Always follow the manual when you calibrate.
Electromechanical and digital relays need different things. The table below shows the main differences:
| Aspect | Electromechanical Relays | Digital Relays |
| Calibration Focus | Calibration of mechanical parts | Validation of function and logic |
| Testing Complexity | Simpler procedures | More complex due to multiple settings |
| Self-Diagnostics | Limited | Advanced, but may miss configuration issues |
| Functionality Understanding | Basic knowledge needed | Comprehensive understanding required |
| Risk of Incorrect Settings | Lower risk | Higher risk if settings are wrong |
You get better accuracy and reliability when you follow the maker’s steps. This helps you calibrate protective relays the right way.
Calibrate Protective Relays: Step-by-Step

Calibrating relays helps keep your system safe. You need to follow steps in order. Each step checks a part of the relay. Watch for mistakes or odd numbers as you go.
Pickup and Dropout Tests
First, check when the relay turns on and off. These tests show the pickup and dropout points. Here is what you do:
- Find the pickup value. Slowly make the input signal stronger until the relay turns on.
- Find the dropout value. Lower the signal until the relay turns off.
- Measure how long it takes for the relay to react.
Write down every number you get. Look at the relay’s design to compare your results. If the relay does not work right, check the wires and settings.
Tip: Always use the right test tools. Double-check your connections before you start.
Timing Accuracy
Timing accuracy means the relay reacts at the right time. You need to see how fast the relay works when there is a fault. Use a timer or test set to check the delay.
| Measurement Method | Tolerance | Benchmark CTI (seconds) | Source |
| Timing tests | ±5% or ±0.1 sec | 0.2-0.4 | IEEE C37.112 |
Test the relay more than once. Make sure the timing matches the standard. If the relay is too slow or too fast, change the settings or test again.
Note: Check the time-current curves for each relay. This helps you find timing problems early.
Contact Resistance
Contact resistance can make the relay fail. High resistance is bad. You need to measure contact resistance using these ways:
- Micro-ohmmeters use four wires for good readings.
- The 6 Volt 1 Amp way uses two power supplies and a digital meter to check voltage drop.
- The four-wire DC voltage drop way removes mistakes from test leads.
- Use two wires for current and two for voltage drop.
You can switch the wires and average the results to fix thermal EMF errors.
| Equipment Type | Acceptable Deviation | Calculation Method |
| Circuit Breakers and Switches | 50% | Multiply the lowest value by 1.5 |
| Fuses | 15% | Multiply the lowest value by 1.15 |
| Batteries | 20% | Cannot exceed 20% above installation value |
If resistance is too high, clean the contacts or change broken parts.
Tip: Always check contact resistance before and after calibration. This helps you see changes.
Functional Verification
Functional verification checks if the relay works in real life. You use simulators and test sets to make faults and watch the relay.
- Use a secondary injection test set to make faults.
- Test each relay part one at a time.
- Compare pickup, dropout, and timing values to the design.
| Aspect | Description |
| Verification Method | Compare relay pick-up, drop-out, and timing values against design specs using test equipment. |
| Calibration Purpose | Adjust parameters to ensure accurate operation under real fault conditions. |
| Self-Calibration | Some relays have self-calibration features for better precision. |
Simulators let you test relays in a safe place. You can make big faults that are hard to test in real systems.
| Aspect | Description |
| Real-time Environment | Simulators create a real-time setting to test relays as if installed in power systems. |
| Testing Capabilities | You can test severe faults and get continuous results. |
| Confidence in Operation | Testing in simulators ensures relays will work correctly in real systems. |
Watch for mistakes or strange numbers during these tests. If you see a problem, test again or check the relay settings.
| Common Mistakes | Solutions |
| Neglecting safety protocols | Use PPE, follow LOTO steps, and do risk checks. |
| Inadequate understanding of relay functions | Learn about relay types and keep learning. |
| Over-reliance on software | Always check results by hand. |
| Improper calibration of testing equipment | Calibrate your tools before and after testing. |
Note: Always write down your calibration results. Good records help you see changes and fix problems faster.
Maintenance and Troubleshooting
Calibration Intervals
You need to check and calibrate protective relays on a regular schedule. The right interval depends on the type of relay and the environment. Most manufacturers and utilities suggest the following intervals:
| Recommended Interval | Source |
| 2-5 years | Most manufacturers in the US Gulf Coast |
| 5 years | A large electrical utility’s practice |
| Annual checks | For relays in adverse conditions |
| Every two years | General rule of thumb, referencing manufacturer’s manuals |
If your relays work in harsh places, you should check them more often. Always follow the relay manual for the best results.
Common Errors
You might see some common errors when you work with relays. Loose connections can cause relays to trip at the wrong time. Dirty contacts may stop the relay from working. Wrong settings can make the relay miss a fault or trip too soon. Sometimes, software bugs in digital relays cause problems. You should always look for these issues during checks.
Tip: If you see strange readings or the relay does not respond, check the wiring and settings first.
Routine Maintenance
Regular care helps your relays last longer and work better. Here are some good practices:
- Look at relays and wires for signs of damage.
- Test relay functions and timing to make sure they work right.
- Move relay parts to keep springs and contacts from sticking.
- Check trip coils at lower voltages to see if they still work.
- Use lights or monitors to watch relay operation.
These steps help you find problems early and keep your system safe.
Troubleshooting Steps
When a relay does not work, you need to find the cause. Start by checking the power supply and connections. Test the relay with a known signal. Compare the relay’s response to the manual. If you see errors, reset the relay and test again. Replace damaged parts if needed. Keep good records of what you find and fix.
Note: If you follow these steps, you can quickly solve most relay problems and keep your system running well.
You make sure protective relays work well by using a simple plan. Checking relays often helps you find mistakes early. Write down every calibration and keep certificates to track them. Training helps you learn new ways and remember to keep records. Set how often you calibrate relays by how much you use them. Always follow what the manufacturer says and change your schedule if rules change. When you focus on relay reliability, you keep your system safe and protect people.
FAQ
How often should you calibrate protective relays?
Most relays need calibration every 2 to 5 years. If relays are in tough places, check them more often. Always listen to what the manufacturer says for best results.
What tools do you need for relay calibration?
You need relay test sets and multimeters. Calibration software is also important. The relay’s manual and wiring diagrams help you do the job right. These tools let you test and fix the relay.
Can you calibrate digital and electromechanical relays the same way?
No, you cannot do both the same way. Digital relays need software checks and logic tests. Electromechanical relays need you to adjust mechanical parts. Always read the manual for your relay before you start.
What should you do if a relay fails calibration?
First, look at the wiring and settings. Clean the contacts if you need to. If the relay still does not work, change broken parts or ask the manufacturer for help.


